
I love Easter baskets! I loved getting them when I was a kid and I love putting them together as an adult. SO many goodies and surprises hidden away in little eggs. Oh, and don’t forget the Easter egg hunt! You get to go looking for these eggs, which is fun on its own, and then you also get to open them all up and get all these little treats. So. Much. Fun.
I keep a bag full of plastic eggs so I don’t have to buy a whole bunch every year. I need a lot of eggs because I color code my Easter egg hunts and the eggs I add to the kids baskets. (I take this job VERY seriously.) Each kid has specific color eggs to look for. I like it because I can make sure that each kid is getting eggs filled with age appropriate treats and toys and also that the eggs can be hidden for the kids age too. Hide them a little better for the older kids and more out in plain sight for the babes.
So I am super excited to share this pattern with you! Now I can MAKE Easter eggs!
The little eggs are a simple design but they come out so adorable! Plus, the fact that they’re simple means these are fast to make so you’ll have no problem adding as many as you want to your hunt or basket with plenty of time before Easter!

Fillable Eggs Pattern
Materials:
Approximately 25 yards of worsted/medium weight yarn
G/4 mm or size needed to obtain gauge
Scissors
Tapestry Needle

Size:
Finished egg is 3.5” tall and 2.75” across at the widest place
Gauge:
sc – 10 sts by 11 rows = 2”
Gauge is important to your project so your finished piece will be the size specified in the pattern and the materials specified in the pattern will be sufficient.
The hook size for the pattern is based on what I used, but gauge can vary from person to person and be affected by yarn. If it takes you fewer stitches and rows to make 2”, try using a smaller size hook; if more stitches and rows, try a larger size hook. The pattern also provides measurements to obtain for a specific size. Using a combination of matching gauge and measuring, as closely as possible, should get you close to the desired size.
Notes:
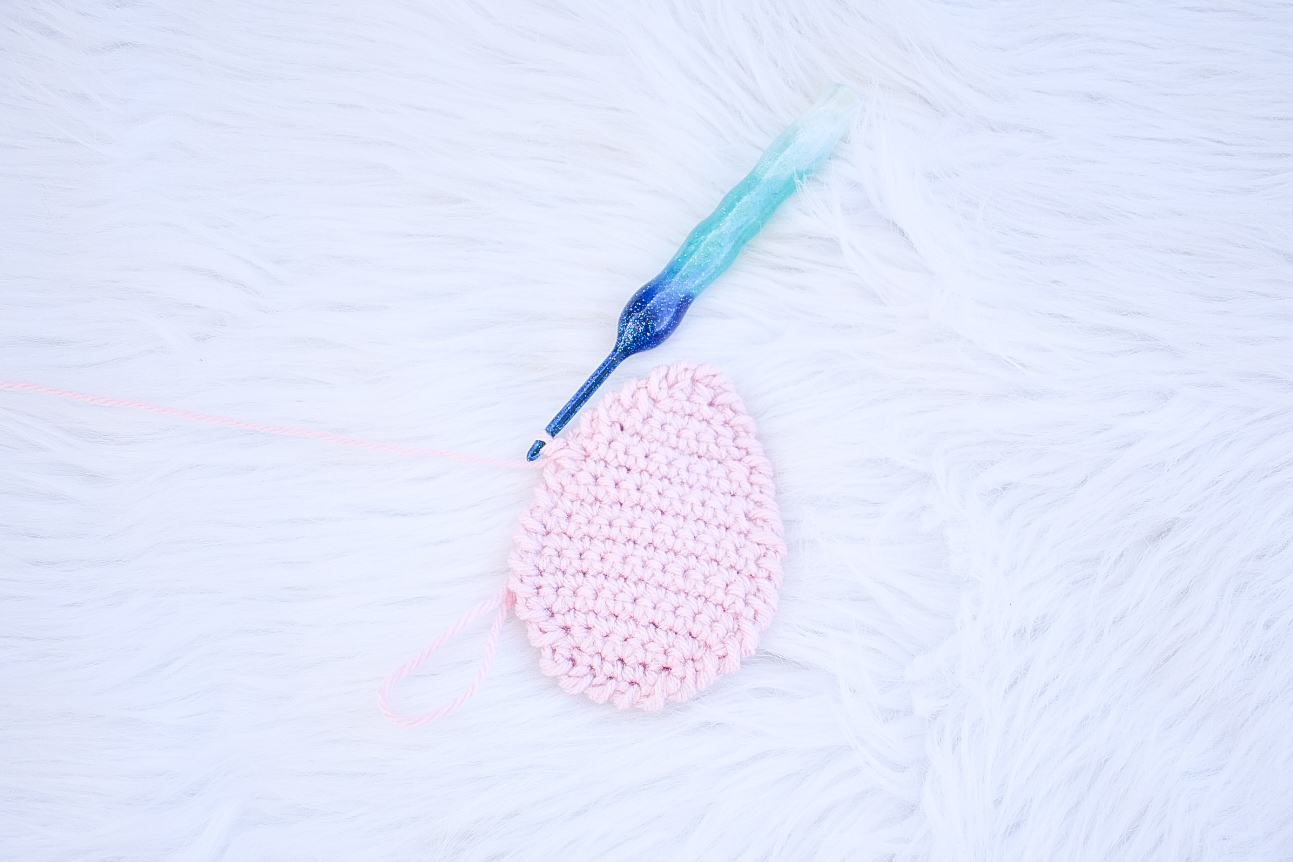
You’ll create two flat eggs and then crochet them together to create the “pocket”.
Easily make different size eggs by changing the hook and yarn sizes!
Stitches and Abbreviations:
ch(s) – chain(s)
st(s) – stitch(es)
sl st – slip stitch
sc – single crochet
crab st – crab stitch (AKA a reverse single crochet, insert hook into st to the right, draw up a loop, yarn over, pull through both loops. YouTube is great place for visuals on this stitch.)
C1 – Color 1
C2 – Color 2
Disclaimer: You may sell any items made from this pattern but do not sell, alter, rewrite or share this pattern. If you choose to sell your finished piece please give credit to my shop: Woodland Stitchcraft (etsy.com/shop/WoodlandStitchcraft) or my Instagram: @woodland.stitchcraft. Please use your own pictures for your posts, ads, or listings.
Solid Color Egg:
Make 2.
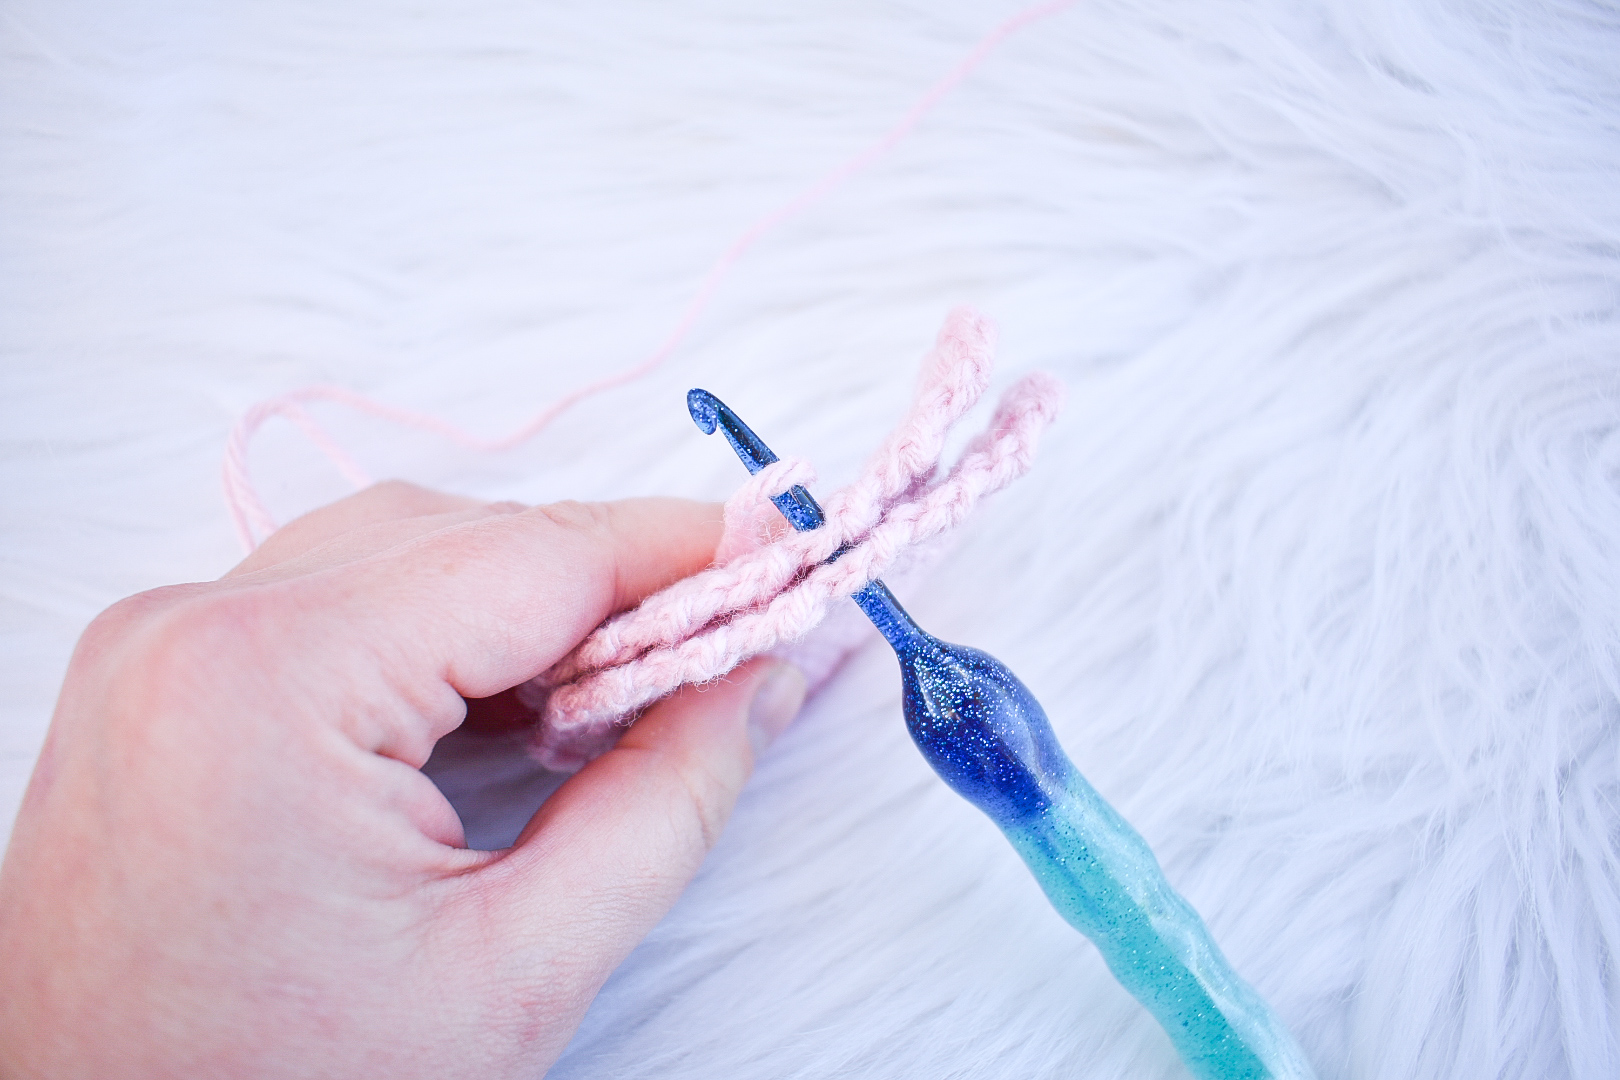
Ch 6.
Row 1: Sc in 2nd ch from hook and each ch across. (5)
Row 2: Ch 1, turn, 2 sc in first st, sc next 3, 2 sc in last st. (7)
Row 3: Ch 1, turn, 2 sc in first st, sc next 5, 2 sc in last st. (9)
Row 4: Ch 1, turn, 2 sc in first st, sc next 7, 2 sc in last st. (11)
Row 5-9: Ch 1, turn, sc in each st across. (11)
Row 10: Ch 1, turn, sc2tog, sc next 7 sts, sc2tog. (9)
Rows 11&12: Ch 1, turn, sc each st across. (9)
Row 13: Ch 1, turn, sc2tog, sc next 5 sts, sc2tog. (7)
Row 14: Ch 1, turn, sc each st across. (7)
Row 15: Ch 1, turn, sc2tog, sc next 3 sts, sc2tog. (5)
Row 16: Ch 1, turn, sc2tog, sc next st, sc2tog. (3)
Row 17: Ch 1, turn, sc2tog over 1st and 2nd sts, sc2tog over 2nd and 3rd sts. (2)
Fasten off. Weave in ends. Move on to assembly.
Striped Egg:
Striped eggs are made the same as solid but I have included where to switch colors.
When changing color for the striped egg I like to drop the color at the end of the row and then just pick it up again when I need it. I run the yarn along the edge. Once the egg is put together the edge is completely covered and it means the color change doesn’t add too much time to your make!

Make 2.
Ch 6.
Row 1: With C1, sc in 2nd ch from hook and each ch across. (5)
Row 2: Ch 1, turn, 2 sc in first st, sc next 3, 2 sc in last st. (7)
Row 3: With C2, ch 1, turn, 2 sc in first st, sc next 5, 2 sc in last st. (9)
Row 4: Ch 1, turn, 2 sc in first st, sc next 7, 2 sc in last st. (11)
Row 5: With C1, ch 1, turn, sc in each st across. (11)
Row 6: Ch 1, turn, sc in each st across. (11)
Row 7: With C2, ch 1, turn, sc in each st across. (11)
Row 8: Ch 1, turn, sc in each st across. (11)
Row 9: With C1, ch 1, turn, sc in each st across. (11)
Row 10: Ch 1, turn, sc2tog, sc next 7 sts, sc2tog. (9)
Rows 11&12: With C2, ch 1, turn, sc each st across. (9)
Row 13: With C1, ch 1, turn, sc2tog, sc next 5 sts, sc2tog. (7)
Row 14: Ch 1, turn, sc each st across. (7)
Row 15: With C2, ch 1, turn, sc2tog, sc next 3 sts, sc2tog. (5)
Row 16: Ch 1, turn, sc2tog, sc next st, sc2tog. (3)
Row 17: Ch 1, turn, sc2tog over 1st and 2nd sts, sc2tog over 2nd and 3rd sts. (2)
Fasten off. Weave in ends. Move on to assembly.
Assembly:
Holding your two eggs together attach yarn 7 rows down from the top on the left side, going through BOTH pieces.
Crab st along top of just the front egg to the 6th row from the top on the opposite side then go through BOTH pieces at the 7th row.


Crab st through both pieces along the bottom of the egg and to the opposite side where you attached your yarn, stopping at the row just before the 7th row where you attached your yarn.

Crab st along top of just the back egg to opposite side, sl st in last row before pieces come back together.

Fasten off. Weave in ends.
Check out all the fun stuff you can fit in these eggs!
Don’t forget to pin this for later!


