
When Christmas rolls around everything gets a little more fancy and the sparkles are everywhere! Our homes inside and out get special attention, hanging lights and decorating trees. We ourselves tend to go out and buy special accessories and outfits, taking photos and attending parties.
It’s such a fun time of year and I wanted to be sure that your crochet projects were just as festive as everything else! I designed the Lace Bow for Christmas BUT I wanted something that could work outside of Christmas too so the bow looks adorable in really ANY color combo you can dream up! I love this red and white version as it makes me think of Santa and Mrs. Claus. It would be amazing in any of the Christmas combos though! Green and red, red and gold, green and white! So many combos.
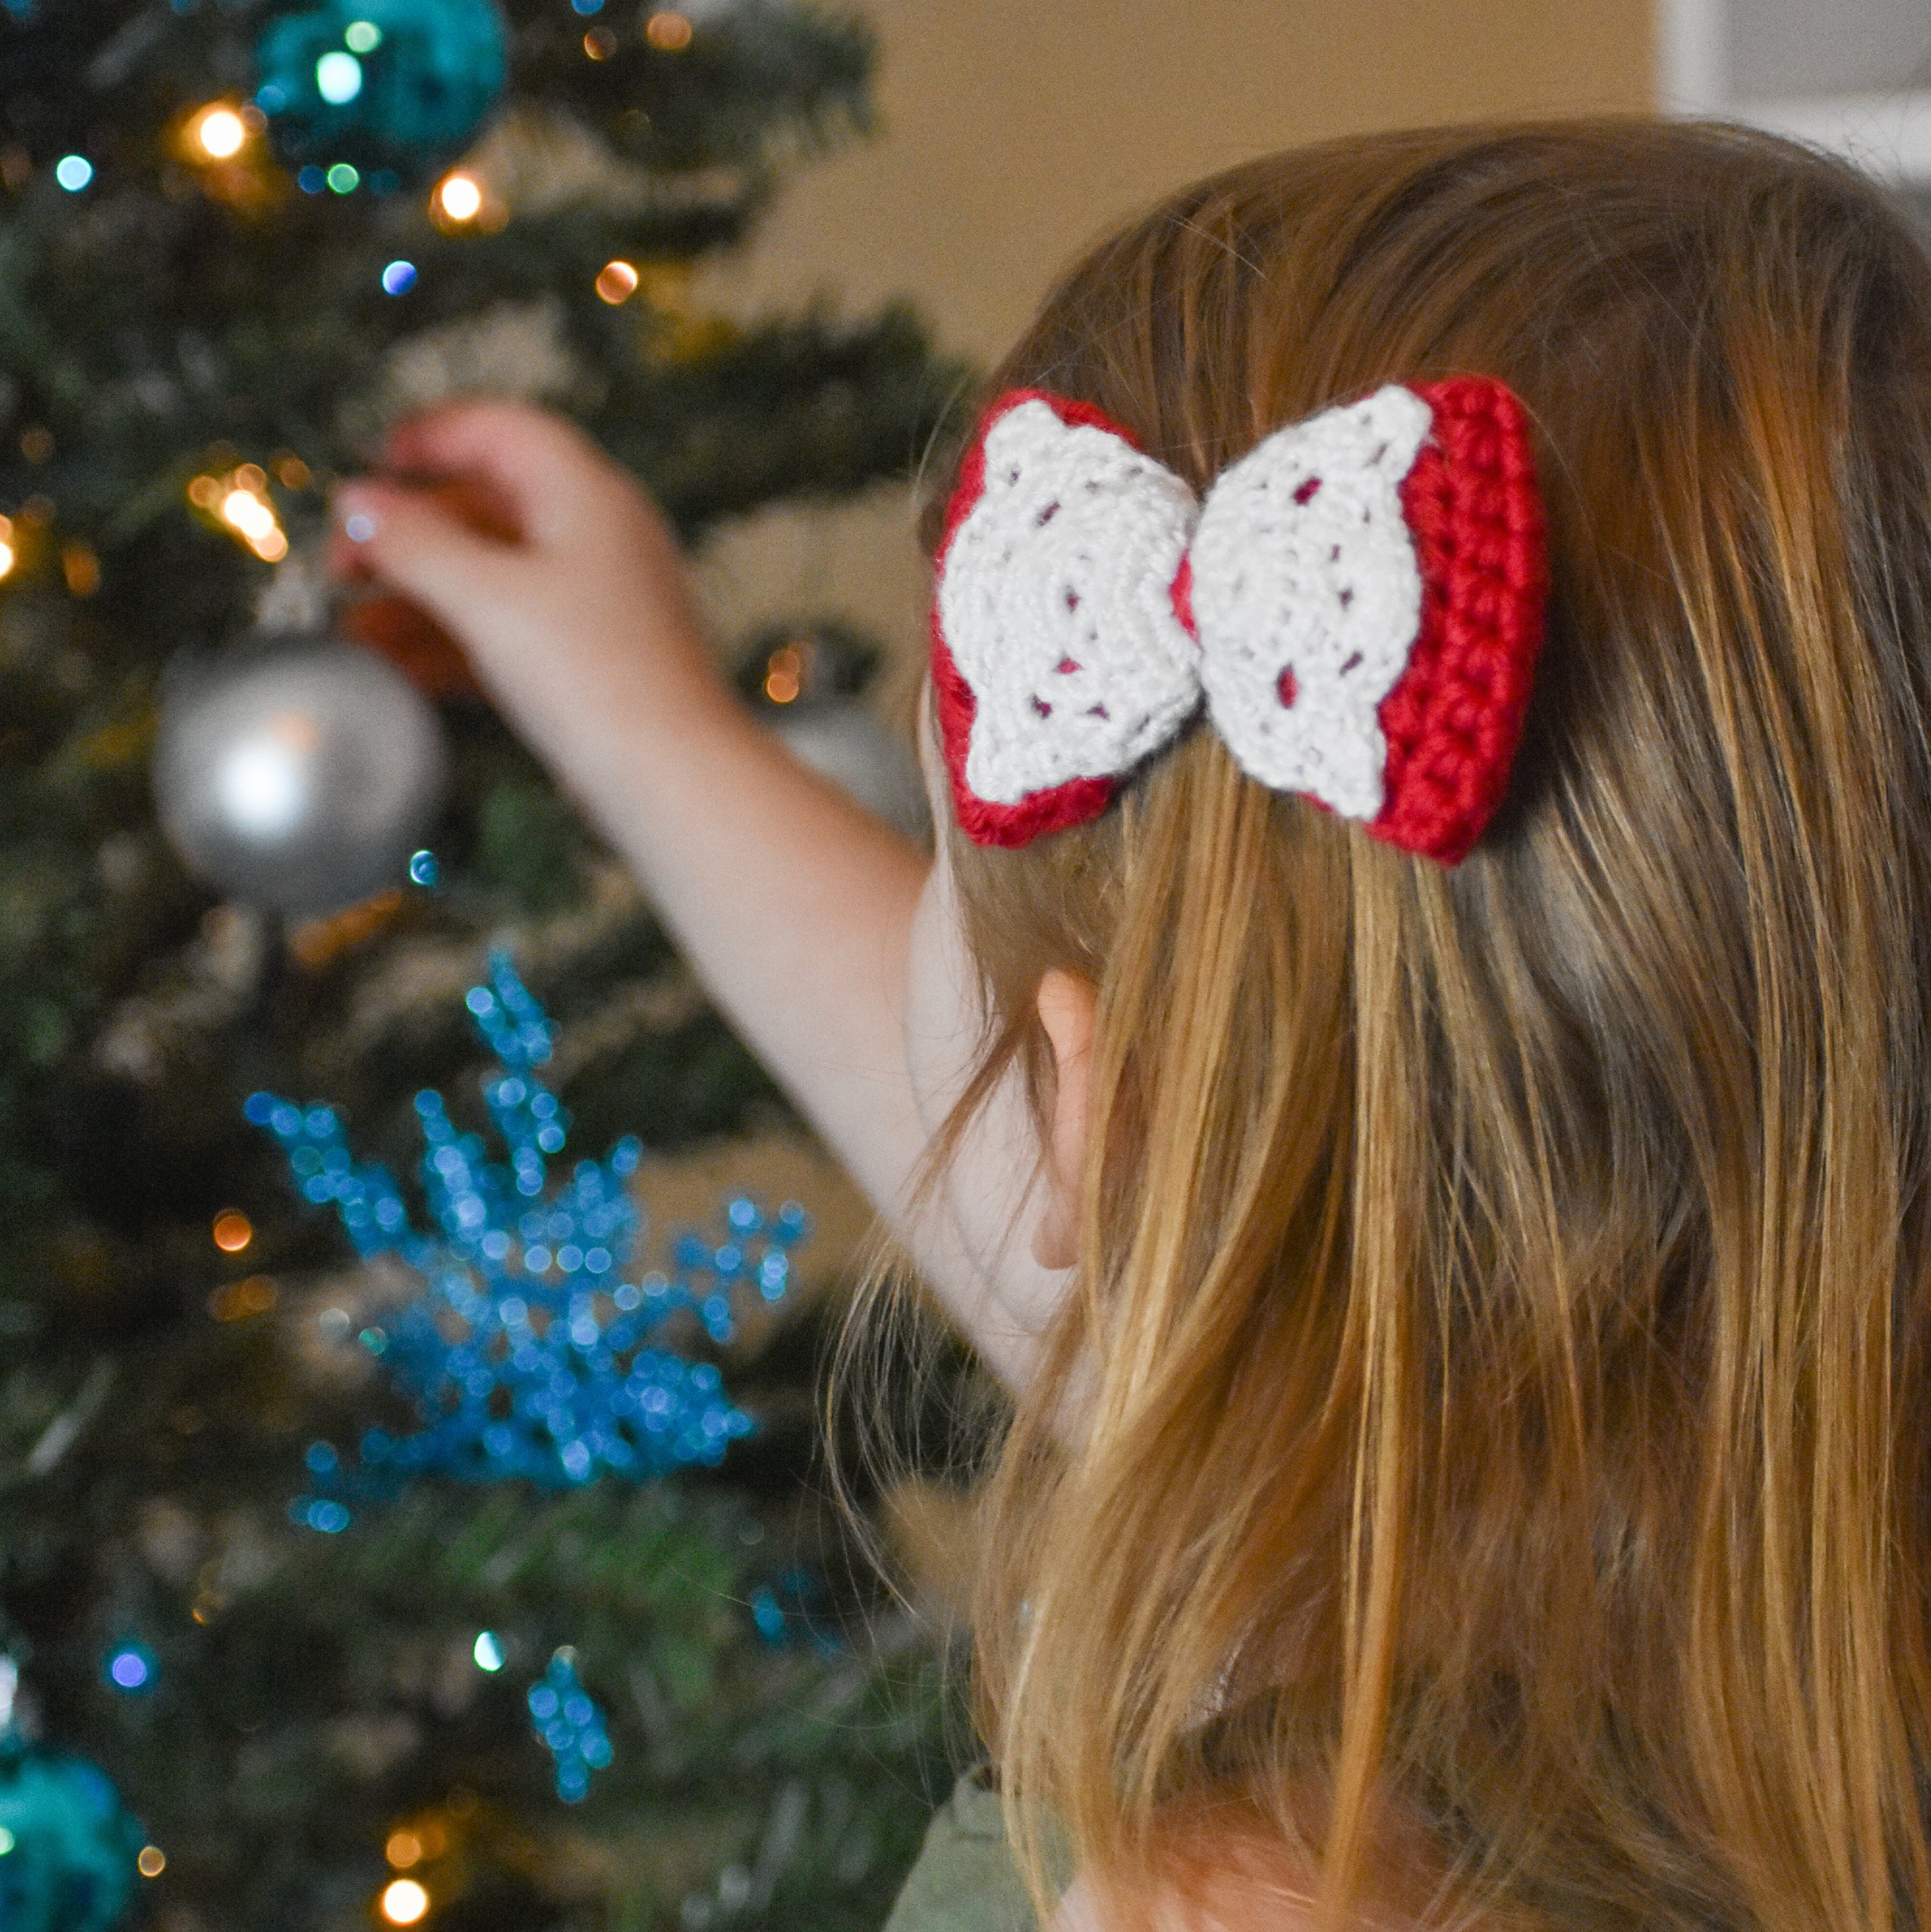
I think this bow could be a great addition to a Christmas outfit. Give those holiday card photos a touch of crochet love! Or you could make them for stocking stuffers! They work up super quick and are a great way to get some gifts done quickly and out of the way or maybe it’s the night before Christmas and you just need a couple last minute gifts. This will work for that!
I did several in more neutral tones as those are my favorite types of colors and adore them. I have worn some of these myself with my go to hair style, the mom bun!

I hope you enjoy the pattern and I would love to see your version of the Fancy Lace Bow! Tag me, @woodland.stitchcraft, in your pictures on Instagram.
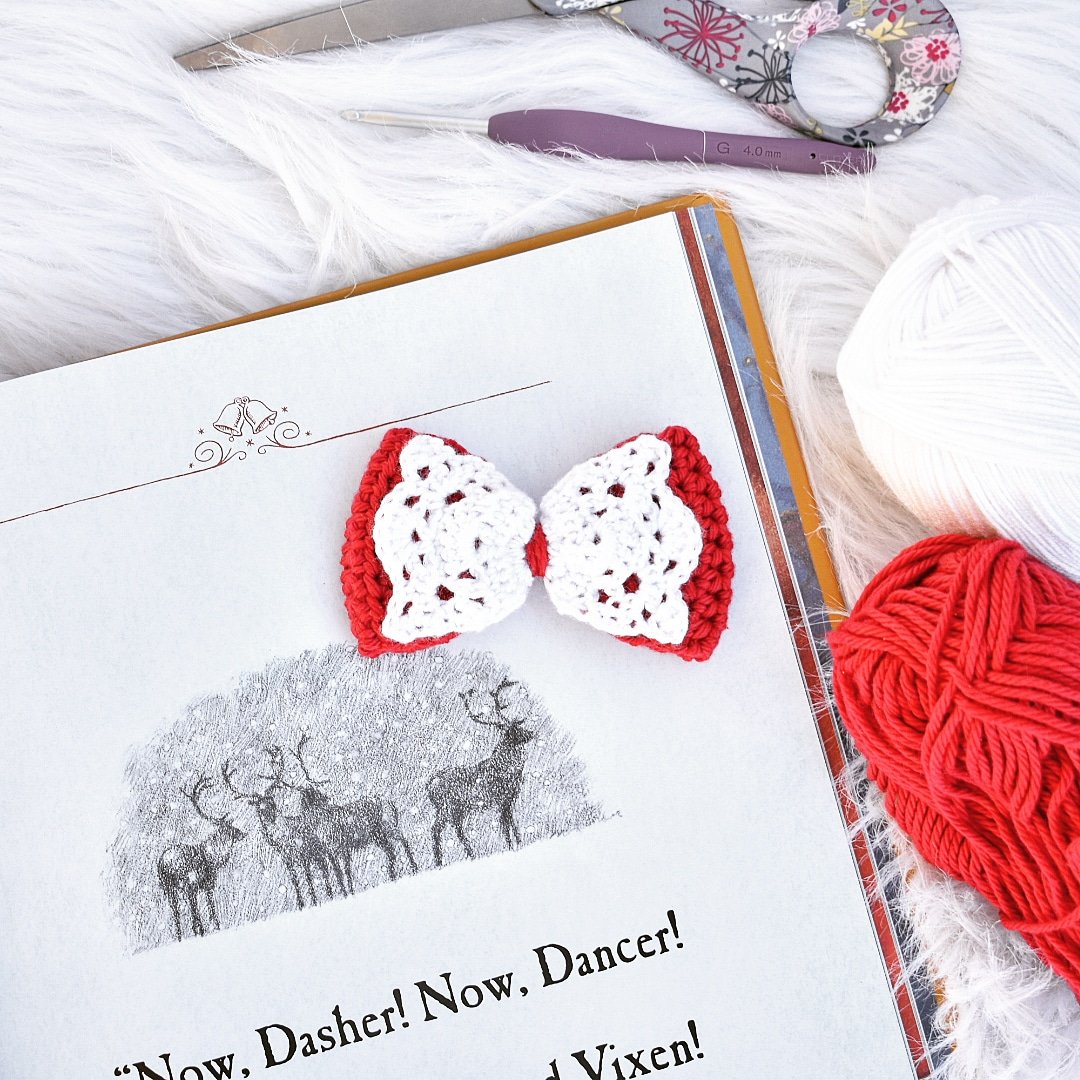
Fancy Lace Bow Pattern
Materials:
Approximately 15-20 yards of worsted/4 weight yarn
Approximately 5 yards of sport/2 weight yarn
G/4 mm or size needed to obtain gauge
Scissors
Tapestry Needle
Measuring Tape
Duckbill clip or nylon headband to attach bow to for wearing
Size:
Finished bow is 3.5” wide and 2.5” tall.
Gauge:
hdc – 18 sts and 16 rows = 4”
Gauge is important to your project so your finished piece will be the size specified in the pattern and the materials specified in the pattern will be sufficient.
The hook size for the pattern is based on what I used, but gauge can vary from person to person and be affected by yarn. If it takes you fewer stitches and rows to make 4”, try using a smaller size hook; if more stitches and rows, try a larger size hook. The pattern also provides measurements to obtain for a specific size. Using a combination of matching gauge and measuring, as closely as possible, should get you close to the desired size.
Notes:
Beginning chains do not count as stitches, so DO NOT skip the first stitch.
Any other chains DO count as stitches.
If you find you are having trouble getting the lace portion to shorter than the bow like in the photos I suggest going down a hook size for those sections.
Stitches and Abbreviations:
ch(s) – chain(s)
st(s) – stitch(es)
sl st – slip stitch
sk – skip
sc – single crochet
hdc – half double crochet
hdc2tog – half double crochet two together
dc – double crochet
v-st – v stitch (dc, ch 1, dc all in same stitch)
Disclaimer: You may sell any items made from this pattern but do not sell, alter, rewrite or share this pattern. If you choose to sell your finished piece please give credit to my shop: Woodland Stitchcraft (etsy.com/shop/WoodlandStitchcraft) or my Instagram: @woodland.stitchcraft. Please use your own pictures for your posts, ads, or listings.
Main Body of Bow:
Using worsted/4 weight yarn.
Ch 4.
Row 1: Hdc in 2nd ch from hook and each ch across. (3)
Row 2: Ch 1, turn, 2 hdc in first st, hdc next, 2 hdc in last st. (5)
Row 3: Ch 1, turn, 2 hdc in first st, hdc next 3, 2 hdc in last st. (7)
Row 4: Ch 1, turn, 2 hdc in first st, hdc next 5, 2 hdc in last st. (9)
Rows 5-10: Ch 1, turn, hdc in each st across. (9)
Row 11: Ch 1, turn, hdc2tog over first 2 sts, hdc next 5, hdc2tog over last 2 sts. (7)
Row 12: Ch 1, turn, hdc2tog over first 2 sts, hdc next 3, hdc2tog over last 2 sts. (5)
Row 13: Ch 1, turn, hdc2tog over first 2 sts, hdc next, hdc2tog over last 2 sts. (3)
Row 14: Ch 1, turn, hdc each st across. (3)
Row 15: Ch 1, turn, hdc 3rd loop each st across. (3)

Row 16: Ch 1, turn, 2 hdc in first st, hdc next, 2 hdc in last st. (5)
Row 17: Ch 1, turn, 2 hdc in first st, hdc next 3, 2 hdc in last st. (7)
Row 18: Ch 1, turn, 2 hdc in first st, hdc next 5, 2 hdc in last st. (9)
Rows 19-24: Ch 1, turn, hdc in each st across. (9)
Row 25: Ch 1, turn, hdc2tog over first 2 sts, hdc next 5, hdc2tog over last 2 sts. (7)
Row 26: Ch 1, turn, hdc2tog over first 2 sts, hdc next 3, hdc2tog over last 2 sts. (5)
Row 27: Ch 1, turn, hdc2tog over first 2 sts, hdc next, hdc2tog over last 2 sts. (3)
Row 28: Ch 1, turn, hdc in each st across. (3)
Fasten off, leave a 15″ tail for sewing and wrapping middle.
Sew the first and last row together, this is the back of your bow.
DO NOT weave in these ends yet as you will use this tail to wrap the middle of your bow after attaching your lace detail.

Lace Part One:
Flip bow over to front, using sport/2 weight yarn, attach to back loop on the right of the pushed forward hdc from row 14.

Row 1: Ch 1, sc 4 in first st, 3 sc in next, 4 sc in last st. (11)
Row 2: Ch 1, turn, sc 2 in first st, sc next 9, sc 2 in last st. (13)
Row 3: Ch 1, turn, dc first st, ch 1, sk 1, sc next 3 sts, ch 1, sk 1, v-st next st, ch 1, sk 1, sc next 3 sts, ch 1, sk 1, dc last st. (15)
Row 4: Ch 1, turn, 2 dc in first st, ch 1, sk 2, sc next st, ch 1, sk 3, 5 dc in ch 1 sp, ch 1, sk 3, sc in next st, ch 1, sk 2, 2 dc in last st. (15)
Row 5: Ch 1, turn, sc first 2 sts, ch 2, sk 3, sc next 5 sts, ch 2, sk 3, sc last 2 sts. (15)
Row 6: Ch 1, turn, dc first st, ch 1, sk 1, sc 3 into ch 2 sp, ch 1, sk 2, v-st next st, ch 1, sk 2, sc 3 into ch 2 sp, ch 1, sk 1, dc last st. (15)
Row 7: Ch 1, turn, 2 dc in first st, ch 1, sk 2, sc next st, ch 1, sk 3, 5 dc in ch 1 sp, ch 1, sk 3, sc in next st, ch 1, sk 2, 2 dc in last st. (15)
Fasten off, leave long tail for tacking down lace.
Lace Part Two:
Flip your bow so that lace you have just completed is on bottom half. Attach to back loops on the right of the remaining loops of the pushed forward hdc from row 14.

Row 1: Ch 1, sc 4 in first st, 3 sc in next, 4 sc in last st. (11)
Row 2: Ch 1, turn, sc 2 in first st, sc next 9, sc 2 in last st. (13)
Row 3: Ch 1, turn, dc first st, ch 1, sk 1, sc next 3 sts, ch 1, sk 1, v-st next st, ch 1, sk 1, sc next 3 sts, ch 1, sk 1, dc last st. (15)
Row 4: Ch 1, turn, 2 dc in first st, ch 1, sk 2, sc next st, ch 1, sk 3, 5 dc in ch 1 sp, ch 1, sk 3, sc in next st, ch 1, sk 2, 2 dc in last st. (15)
Row 5: Ch 1, turn, sc first 2 sts, ch 2, sk 3, sc next 5 sts, ch 2, sk 3, sc last 2 sts. (15)
Row 6: Ch 1, turn, dc first st, ch 1, sk 1, sc 3 into ch 2 sp, ch 1, sk 2, v-st next st, ch 1, sk 2, sc 3 into ch 2 sp, ch 1, sk 1, dc last st. (15)
Row 7: Ch 1, turn, 2 dc in first st, ch 1, sk 2, sc next st, ch 1, sk 3, 5 dc in ch 1 sp, ch 1, sk 3, sc in next st, ch 1, sk 2, 2 dc in last st. (15)
Fasten off, leave long tail for tacking down lace.
Using tail from fastening off, sew down all the outer corners of your lace to the bow on either side to hold it in place. Weave in all ends from lace.
Using long tail from bow body tightly wrap the middle of the bow, weave in ends.

That’s it! You now have a lace bow!


Nour
December 4, 2020 at 12:38 pmGood job 👏❤️